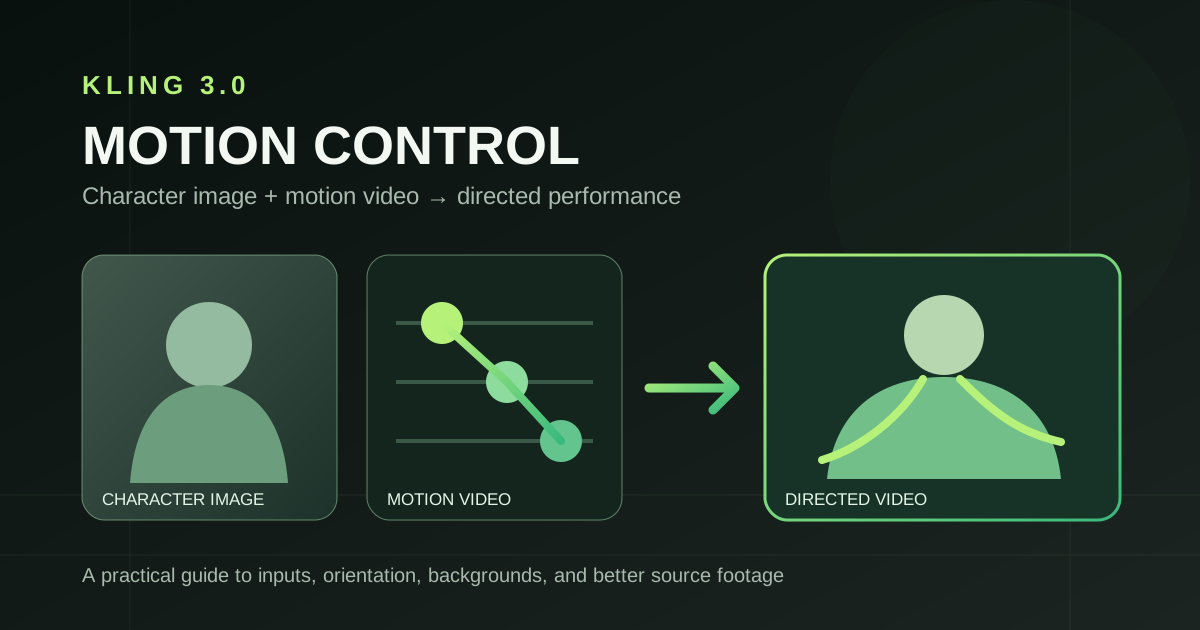
Kling 3.0 Motion Control Guide: Character Image, Reference Video, and Better Results
A practical Kling 3.0 Motion Control tutorial covering image and video requirements, orientation, background controls, 10-second and 30-second limits, and source-footage tips.
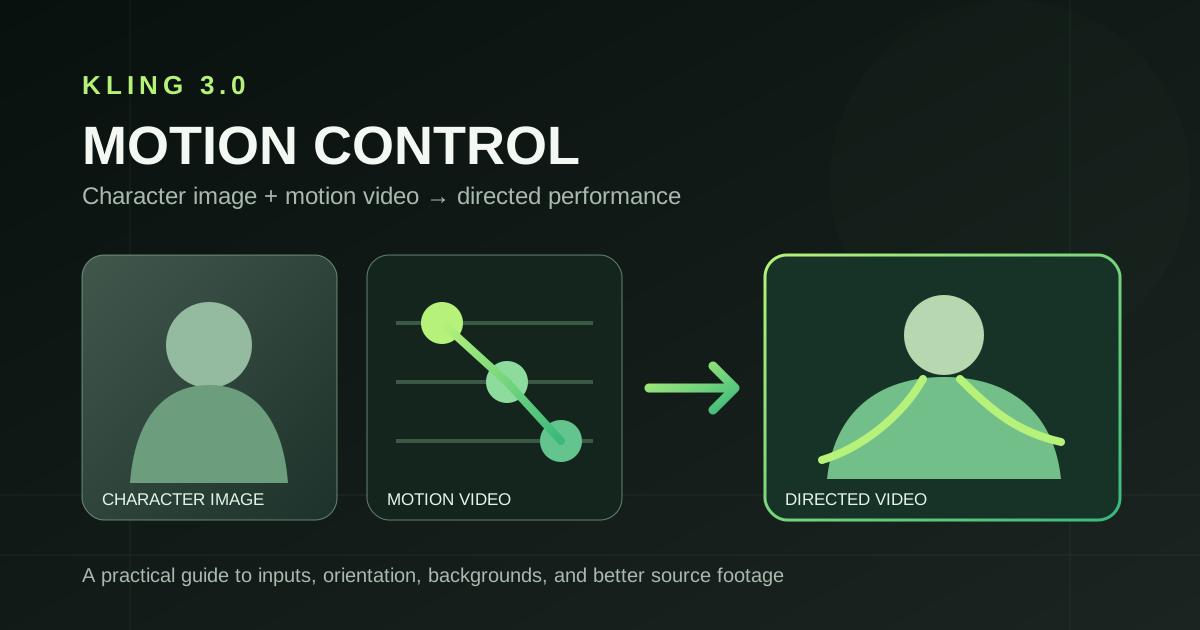
The core idea: Give Kling one still image for the character’s appearance and one video for the performance. The video supplies movement and length; orientation and background are separate choices. Start with clear source footage before trying to fix a weak result with a longer prompt.
What Motion Control Does
Kling 3.0 Motion Control transfers movement and expression from a reference video to a character shown in a still image. Kling’s official Motion Control guide describes improvements to facial consistency through difficult movement, changing camera angles, occlusion, and sustained expression. Those are useful creative directions, but individual results still depend on the inputs.
Our Kling 3.0 Motion Control generator exposes the image-and-video workflow. It does not expose the separate “bind face subject” feature described for Kling’s own app. Uploading a character image here is not the same as enrolling a reusable face subject.
Before You Start: The Two Inputs
| Input | What it controls | Good starting point | Current site limit |
|---|---|---|---|
| Character image | Appearance and identity | A clear JPG or PNG with face, shoulders, and torso visible | One image, under 10 MB |
| Motion video | Movement, expression, and clip length | An MP4 or MOV showing the performer clearly | One video, 3–30 seconds, under 50 MB |
The upstream Motion Control API documentation allows a larger video file, but this site’s upload limit is 50 MB. Keep the subject’s head, shoulders, and torso visible in both files. A close, unobstructed face usually gives the model more usable identity information than a tiny face in a wide shot.
The official guide suggests matching your source material to the result you want: if a head turn matters, provide clear front and side views where possible; if emotion matters, use source footage that actually shows the expression change. On this page, you can upload only one character image and one motion video, so prioritize the strongest pair.
Step-by-Step Workflow
- Open the Motion Control generator and upload one character image. Use a well-lit portrait that shows the face and upper body. Avoid heavy occlusion, tiny faces, and extreme crops for your first test.
- Upload one motion video. Choose a short clip with a clearly visible performer and one main action. Watch the preview and confirm that its duration matches what you intend to generate.
- Choose Character orientation. “Follow video” uses the performer’s orientation in the motion clip and supports up to 30 seconds. “Follow image” keeps the orientation from the still image and supports a motion video of at most 10 seconds.
- Choose Background source. Use the video’s scene when its environment is part of the performance; use the image’s scene when the character’s original setting matters more.
- Choose 720p or 1080p. Review the estimated credits after uploading the video; the estimate uses its duration, rounded up to a whole second. You can add a short direction prompt, but it is optional.
- Generate and inspect the result for face stability, body movement, and background continuity. If something is off, change one input or setting at a time.
Orientation and Background Are Different Controls
The two selectors solve different problems. Orientation decides which source guides the direction the character faces. Background decides which source guides the scene behind them. For example, you can follow the motion video’s orientation while keeping the background from the still image.
| Goal | Orientation | Background |
|---|---|---|
| Preserve the motion performer’s turns and staging | Follow video | Video or image, depending on the scene |
| Keep the pose direction closer to the still portrait | Follow image | Usually image |
| Transfer a dance into a new setting | Follow video | Image |
“Follow image” has a 10-second motion-video limit. If the source is longer, trim it first or switch to “Follow video.” The latter supports up to 30 seconds.
How to Improve a Weak Result
Face drifts during a turn. Try a sharper character image with a larger face, then choose a motion clip where the performer’s face remains visible for more of the action. The official guide emphasizes sufficient facial information, especially for turns and changing expressions.
Movement looks incomplete. Shorten the source video to one clear action. Motion Control follows the action it can read; several abrupt cuts, distant performers, or heavy occlusion make the movement less explicit.
The background changes unexpectedly. Check the background selector before rewriting the prompt. Use the source that already contains the scene you want to preserve.
The result feels unlike the image. Compare the framing and subject type of the image and video. A portrait cropped at the chin paired with a full-body dance gives the model less matching body information than an upper-body image paired with similarly framed footage.
A long prompt is fighting the references. Remove instructions that conflict with the uploaded video’s movement or selected background. Use the prompt for a small detail you want to steer, then test again.
A Good First Experiment
Use a clear waist-up portrait and a 5–8-second video of one person turning toward the camera and smiling. Keep orientation on “Follow video,” background on “Use video background,” and leave the prompt blank. Once that baseline works, switch only the background source; then try “Follow image” with the same short clip. Comparing one change at a time shows which input or control caused the difference.
The official Kling guide is useful for visual examples of face angles, emotion, occlusion, and distance. For this site’s exact upload and duration limits, follow the controls shown in the generator.
더 많은 글

Kling 4.0: Release Date, Features, and Prompt Guide (2026)
Kling 4.0 release date, confirmed features, and prompt tips. See what is in early access, what is coming soon, and how to plan your video workflow.

Google Veo 3.1 Lite: Half the Cost of Veo 3.1 Fast, Same Speed
Google launched Veo 3.1 Lite on March 31, 2026 — the most affordable model in the Veo family at $0.05/sec for 720p. Here's what it can do, what it can't, and whether it's right for your workflow.
Veo 3.1 Lite Prompt Guide: 20+ Ready-to-Use Prompts for Cinematic AI Video
Learn exactly how to prompt Veo 3.1 Lite for cinematic results. Covers shot types, camera movement, audio, and 20+ copy-paste prompts across genres — no fluff.